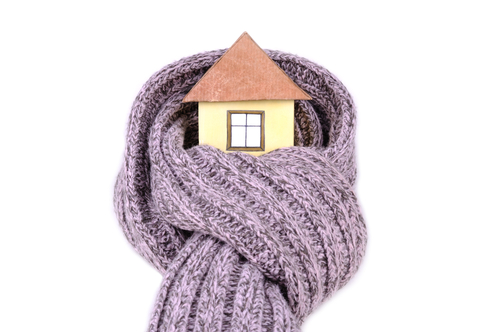
Looking to cut back on your home expenses? One of the easiest do-it-yourself projects can take just a weekend and a keen eye to search for and seal air leaks around your house.
Why? That air that’s seeping through cracks in your window sill or door is also your money seeping through—your heat (or air conditioning) is escaping your home and cold air (or hot air) is coming in. This makes your system work harder than needed—and that costs you money.
Typical Air Leaks
The most common locations for air leaks include doors and windows—sometimes weather-stripping might deteriorate, thus allowing air to seep through.
You can do your own test for air leaks in your home by being more observant. Do a visual inspection of your home, checking all exterior corners for cracks, outdoor water faucets for gaps, checking where your house’s siding meets with the chimney for any cracks, as well as any areas where the foundation and bottom of exterior brick/siding meet.
Inside your home, the following are more common for air leaks:
- Electrical outlets and switch plates
- Door/window frames
- Attic hatches
- Wall or window-mounted air conditioners
- Cable TV and phone lines
- Dryer vents
- Electrical and gas service entrances
Windows can be the biggest culprit when it comes to air leaks—how does the caulk look? Are there any cracks? If you can rattle the window, it’s loose and needs attention. You might even consider replacing older, single-pane windows with more energy-efficient, high-performance windows.
Another test you can do for checking for air leakage in your home is the building pressurization test, as described by Energy.gov.
DIY: Sealing Air Leaks
Once you’ve determined where the air is leaking in your home, all it takes is a weekend to go through and care for most of the cracks.
- Use caulk and weather-stripping for doors and windows that leak air
- Use caulk to seal air leaks where plumbing, air ducts or electrical wiring comes through walls, floors, ceilings and soffits over cabinets
- Use foam sealant for larger gaps around windows, baseboard, etc.
- When your fireplace is not in use, make sure the flue damper is tightly closed
- If you have leaks around fireplace chimneys, furnaces and gas-fired water heater vents, use fire-resistant materials such as sheet metal, sheetrock or furnace cement caulk
- Can’t afford new windows at the moment? Cover your older, single-pane windows with plastic during the winter.
Taking some time now to go through your home checking for any air leaks can save you hundreds in heating and cooling costs. Remember, if you have any questions you can contact a home comfort specialist from Best Heating & Cooling anytime.